

By now, if you’ve followed our series of Discord lessons, you should be able to set up a Discord server, add bots, and create an announcement channel. We’ll walk you through adding response roles to your server today so you may further personalize it.
What Are Reaction Roles?
You may choose roles for individual users on your Discord server; the most popular roles are “Admin,” “Mod,” and “Everyone” (i.e., all other users). Some owners go one step further and designate positions according to the server’s theme. On the other hand, reaction roles let Discord users designate responsibilities to themselves. Users can choose the part they want to play by simply “reacting” to a post you’ve published.
Reaction roles need the use of a bot. Although there are many various types of bots available, Carl-bot will be used in this lesson.
1. Create Roles
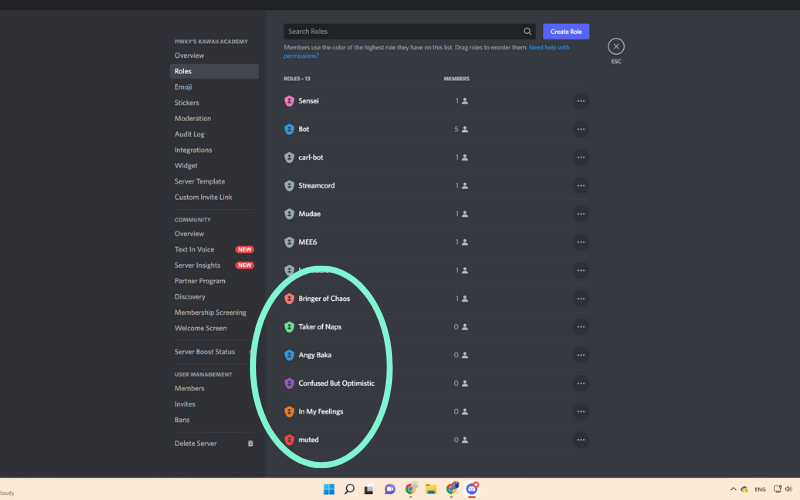
Go to “roles” and then “server settings” before downloading the bot. Give your server some additional roles to play. For this tutorial, we selected a few humorous roles, but you can select any roles that complement your server’s theme.
Giving users access to preferred channels is one of the most popular uses for response roles. Now is a wonderful opportunity to set up those permissions if you want to employ response roles for that reason.
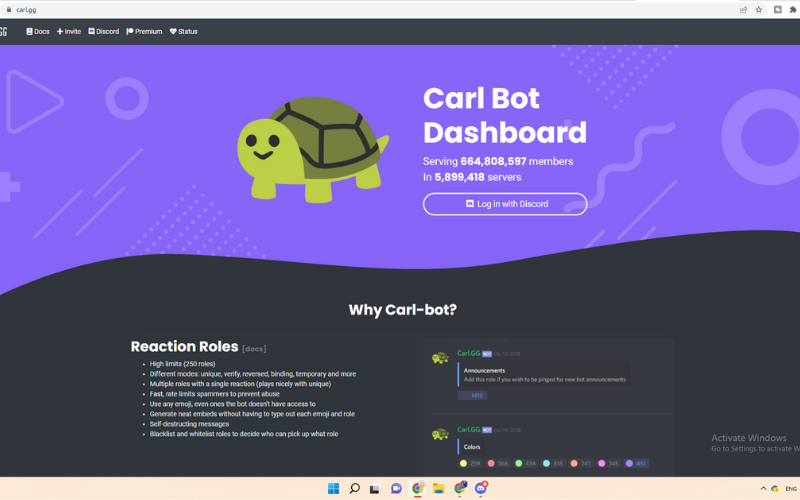
2. Download Carl-bot
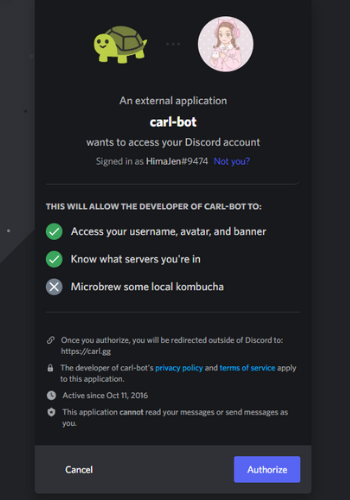
In order to add Carl-bot to your server, choose the option to log in using Discord.
3. Authorize Carlbot to join your server.
You probably already know this step if you’ve welcomed bots previously.
4. Choose what permissions to give to Carlbot.
Read More: What Does “SOS Only” Mean and How to Fix it
5. Navigate to the “Reaction Roles” section and start adding your emojis
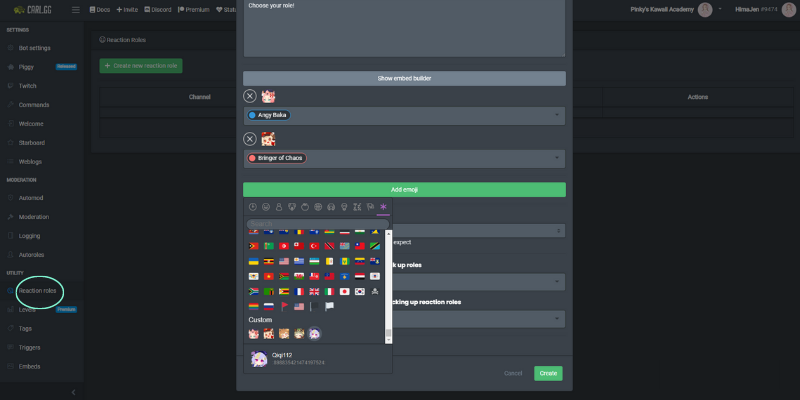
Upon initially gaining access, Carl-bot will provide a brief setup menu. “Reaction Roles” is a section that exists, but it doesn’t have many choices. You may select “Reaction Roles” from the column on the left side of your screen if you navigate beyond the navigation and reach Carl-bot’s home page.
Start selecting the emojis you want to use for your positions from there. You’ll have to go all the way to the bottom to locate any special emoji that your server may have.
6. Assign Emojis to All of Your Roles, Then Click Create

7. Verify that your Reaction Roles message has been created
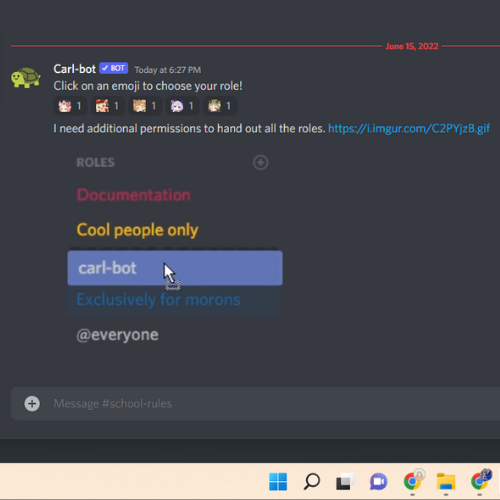
As you can see, Carl-bot sent a message about reaction roles, but it is asking for more authority. Go to “Server Settings,” then “Roles,” and then click and drag Carl-bot’s name to grant these rights. Our bots were positioned beneath the owner role, above moderators and administrators.
Read More: Easy and Quick Tips to Troubleshoot My Fitbit Versa Won’t Turn on
8. Click on An Emoji to React and Enjoy Your New Role
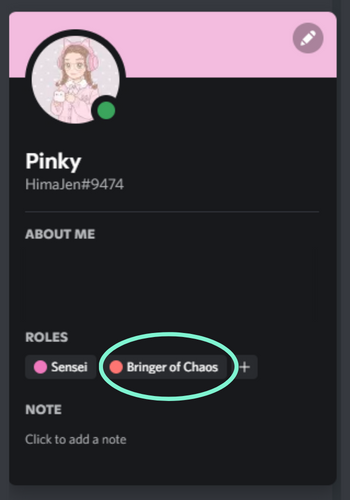
You may view the roles of any members of your server by clicking on them from the right side of the screen. Make sure to choose the option to “Display role members separately from online members” for each role under the “edit role” options if you would want to organize individuals according to their roles rather than who is “online” and “offline” on the right side of the screen.